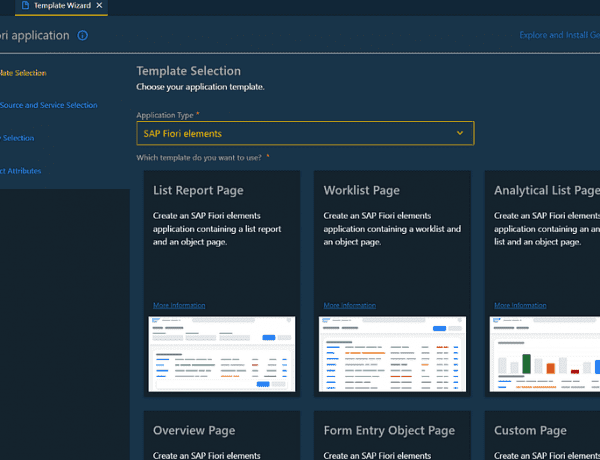
We created a new project in Vs code.

I created 3 Views.

I created the controllers of these views. In addition, I add the Base Controller that I always use.

Then I added Sweet Alert.jsi under the webapp folder. You can also reference the link below. I prefer to access through the file.

https://cdn.jsdelivr.net/npm/sweetalert2@11.11.0/dist/sweetalert2.all.min.js
Then I specify the routing construction in Manifest.json . Here it is important that the view name and targets are similar to the view I created. I added a NotFound screen to the last level in case I use it in the future.
"routing": {
      "config": {
        "routerClass": "sap.m.routing.Router",
        "viewType": "XML",
        "async": true,
        "viewPath": "employee.overtime.view",
        "controlAggregation": "pages",
        "controlId": "app",
        "clearControlAggregation": false
      },
      "routes": [
        {
          "pattern": "",
          "name": "main",
          "target": "main"
      },
      {
          "name": "RouteMain",
          "pattern": ":?query:",
          "target": [
            "TargetMain"
          ]
        },
        {
          "pattern": "detail",
          "name": "detail",
          "target": "detail"
        },
        {
          "pattern": "second",
          "name": "second",
          "target": "second"
        }
      ],
      "targets": {
        "TargetMain": {
          "viewType": "XML",
          "transition": "slide",
          "clearControlAggregation": false,
          "viewId": "main",
          "viewName": "Main"
        },
        "main": {
          "viewName": "Main",
          "viewId": "main",
          "viewLevel": 0
      },
      "detail": {
          "viewName": "Detail",
          "viewId": "detail",
          "viewLevel": 1
      },
      "second": {
          "viewName": "Second",
          "viewId": "second",
          "viewLevel": 2
      },
      "notFound": {
          "viewName": "NotFound",
          "viewId": "notFoundView",
          "viewLevel": 3
      }
      }
    },
Since my first view is Main, I added 2 tiles.
<Page id="page" title="{i18n>title}">
        <content >

     <TileContainer>
        <StandardTile
            id="detailTile"
            icon="sap-icon://world"
            title="Tile 1 "
            info="Info for Tile 1"
            press="onTilePress"/>
        <StandardTile
            id="secondTile"
            icon="sap-icon://settings"
            title="Tile 2"
            info="Info for Tile 2"
            press="onTilePress"/>
    </TileContainer>

        </content>
    </Page>
Then, after defining sweet alert in the controller, I created a pop up with sweet alert.
Then in the function that will run when we press the tiles ;
I recognised the tile with oEvent.getSoruce. Then I took the title and printed it on the screen.
After defining my router, I provided navigation to the screen I want it to go according to its ids.
sap.ui.define([
    "sap/ui/core/mvc/Controller",
    "./BaseController",
    "sap/m/MessageToast",
    "nav/medium/utils/sweetalert"
],
    /**
     * @param {typeof sap.ui.core.mvc.Controller} Controller
     */
    function (Controller,BaseController,MessageToast,swalJS) {
        "use strict";
        return BaseController.extend("nav.medium.controller.Main", {
            onInit: function () {
                swal.fire("Main View");
            },


            onTilePress: function (oEvent) {
              var oTile = oEvent.getSource();
              var sTileTitle = oTile.getTitle();

   Swal.fire({
                position: "bottom",
                icon: "success",
                html: sTileTitle,
                showConfirmButton: false,
                toast: true,
                timer: 2000,
            });
              var oRouter = sap.ui.core.UIComponent.getRouterFor(this);
              if (oTile.sId.includes("detailTile") ){

              oRouter.navTo("detail");
              }
              if (oTile.sId.includes("secondTile") ){

                oRouter.navTo("second");
                }
              //oRouter.navTo("detail");
          }

        });
    });

I said showNavButton=”true” for the navigation button to appear.I said showNavButton=”true” for the navigation button to appear.
<mvc:View
    controllerName="nav.medium.controller.Detail"
    xmlns:mvc="sap.ui.core.mvc"
    xmlns="sap.m">
    <Page id="detailPage" title="Detail Page" showNavButton="true" navButtonPress="onNavBack">
        <content>
            <Text text="Welcome to the Detail Page"/>
        </content>
    </Page>
</mvc:View>
<mvc:View
    controllerName="nav.medium.controller.Second"
    xmlns:mvc="sap.ui.core.mvc"
    xmlns="sap.m">
    <Page id="secondPage" title="Second Page" showNavButton="true" navButtonPress="onNavBack">
        <content>
            <Text text="Welcome to the Second Page"/>
        </content>
    </Page>
</mvc:View>
Finally, I add this function to return to the main screen with the Navigation button.
onNavBack: function () {
            var oHistory = sap.ui.core.routing.History.getInstance();
            var sPreviousHash = oHistory.getPreviousHash();
            if (sPreviousHash !== undefined) {
                window.history.go(-1);
            } else {
                var oRouter = sap.ui.core.UIComponent.getRouterFor(this);
                oRouter.navTo("main", {}, true);
            }
        }
You can access the source code here.
https://github.com/kaancancalkan/Medium-Blog/tree/main/Navigati%C4%B1on%20With%20Sweet%20Alert


No Comments