
I am opening a new file under the Shared Folders directory in Reporting and Analytics.


After going to my folder, I click on “Create” and then select “Data Model”.

Here, I press the “+” button and select the SQL Query.

Here, to test, I give a name to my query, select the HCM Database, and then execute a “Select *” on the PER_ALL_PEOPLE_F table to retrieve basic information about employees (It will fetch all the data).

As you can see, my query has arrived. To view the data, I go to the Data section.


Here, I enter the row count as 200 and set the display to the table view to see the data in a tabular format.

After selecting “View”, the “Save as Sample Data” option became active. I click on it to save this data as a sample.


Here, I select “Edit” on this Data Model.

I select “Create Report” from the tab above.


In these screens, report options are being asked. Since I will use the default settings, I select “Next”.

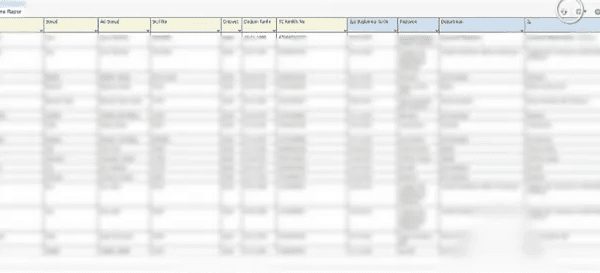
Here, my fields from the table have appeared. I can drag and drop the desired fields to include them in the report.

I simply added these columns and proceeded.

From here, we proceed by clicking on “Finish”.


After receiving the output in PDF format, we click on the “Settings” button and select the “Edit Layout” option.

We can convert the PDF into an interactive view.

To set the format in which the report will open:
While in catalog view, click on the “Edit” option for the report.

We say “View a list.”

From here, we can select the desired format. I have chosen the “Interactive” option.

As you can see, now when I open the report, an interactive report appears on my screen instead of a PDF.


No Comments